Load K-Chorus on an audio track or bus. When using it on the same track as an instrument, place it after the instrument. It starts with 4 voices, Time Spread at 40 ms, Pitch Spread at 20 cents, and Mix at 15%.
Set the number of voices with Voices (1–8) and their timing differences with Time Spread (0–120 ms). At 0 ms, Time Spread disables the pitch-based chorus effect.
Set the pitch interval between adjacent voices with Pitch Spread (0–120 cents). Higher values create larger pitch differences. Pan Spread (0–100%) spreads the voices left and right; the default of 0% places them in the center.
Delay (0–100 ms) delays the entire chorus signal independently of Time Spread. It does not delay the dry signal and starts at 0 ms.
Set the dry/wet balance with Mix (0–100%). At 0% you hear only the dry signal; at 100%, only the chorus signal. Use Bypass to compare with the dry sound.
Drag a knob or scroll to adjust it, and hold Shift for fine control. Double-click or right-click a value to type a number. Double-click a knob to restore that control's default, or choose Reset to restore all defaults.
Load K-Clipper on an audio track or bus. Drive and Ceiling both start at 0 dB.
Set the input level before clipping with Drive (−24 to +24 dB). Raise Drive while listening to the change and checking CLIP AMOUNT.
Set the output level after clipping and the sample-peak limit with Ceiling (−12 to 0 dB). Lowering Ceiling makes the entire clipped signal quieter.
IN and OUT show the higher sample peak of the two channels. CLIP AMOUNT shows the peak reduction, and clipped samples shows the percentage of samples being clipped.
Drag a knob vertically and hold Shift for fine adjustment. Double-click a value to type a number, or double-click a knob to return it to 0 dB. Compare with the dry signal using Bypass, or restore all defaults with Reset.
Enable SYNC and choose a note value to follow your DAW's tempo. In FREE mode, set Time from 0 to 2000 ms. Adjusting Time switches to FREE mode.
Click Tap at a steady interval to set the delay time. Enable Ping Pong to alternate echoes between the left and right channels.
Set the length of the repeats with Feedback and the dry/wet balance with Mix. On a send, set Mix to 100% for echoes only. Feedback at 100% does not decay, so monitor the output level while adjusting it.
Drag a knob to adjust it and hold Shift for fine control. Double-click a value to type, double-click a knob to restore its default, or choose Reset to restore all defaults. Check levels with the IN and OUT meters.
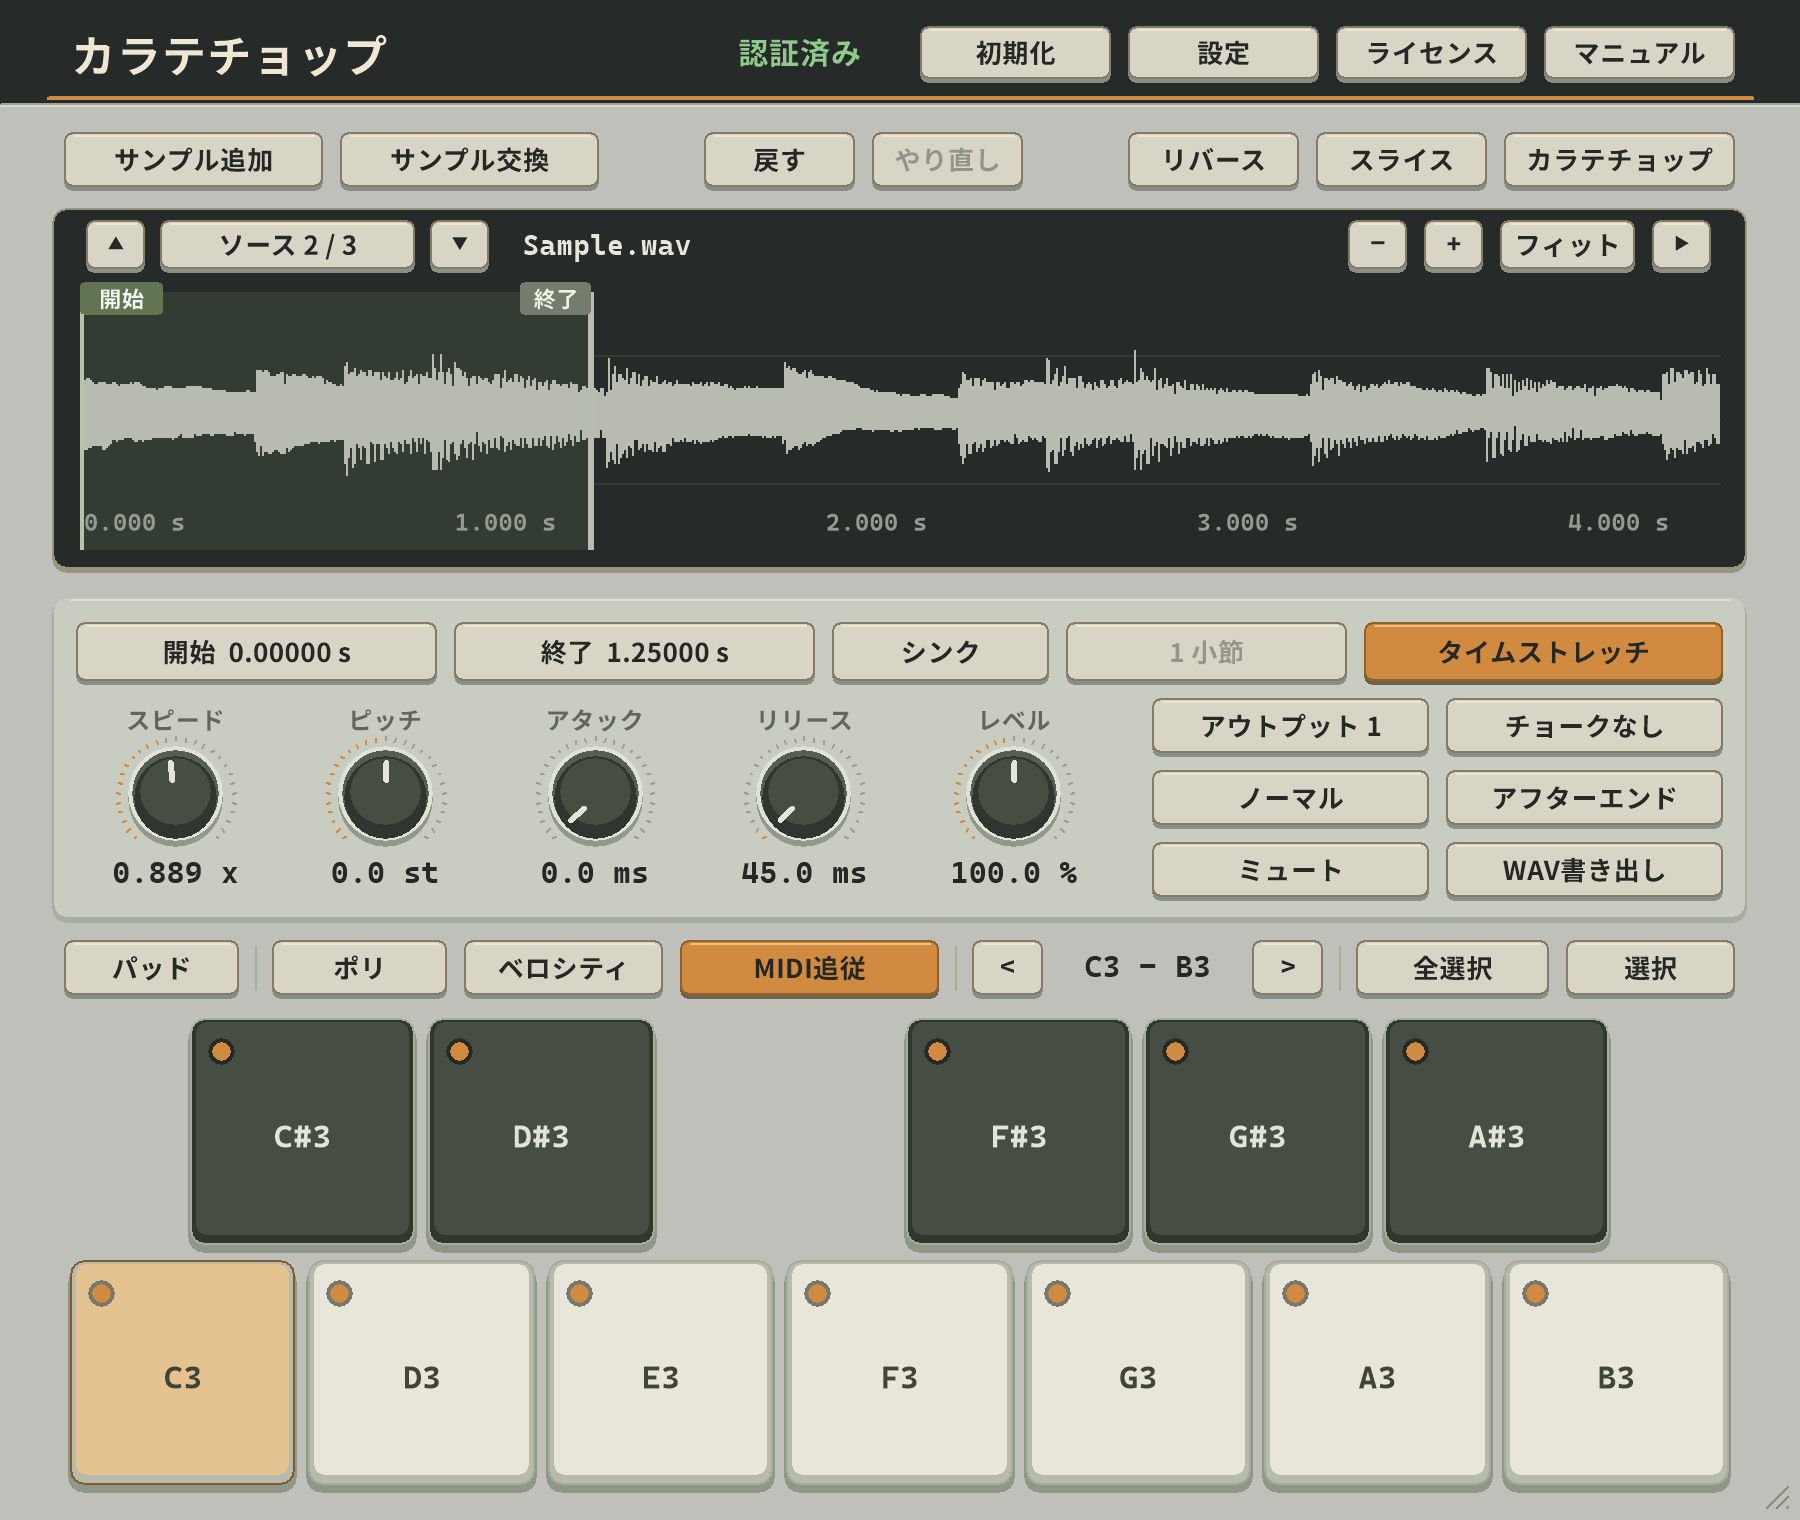
Load K-Drum on an instrument track. Select a key, then choose Load Sample to load WAV, AIFF, FLAC, or MP3 audio. You can also drag files onto a key or the waveform.
Play with MIDI notes or the on-screen keys. Loading several samples assigns them to consecutive keys from the selected key. MIDI Follow displays the settings of the key you play.
Set the playback range with Start and End. Use Level, Pan, Tune, Velocity, and ADSR to shape the sound. Double-click a knob to reset it, or double-click its value to type a number.
Use Choke groups to stop related sounds and Output to choose their destination. Enable the additional stereo outputs in your DAW when using separate routing.
Save kits from the preset menu at the top. Export kit file creates a .kdrum file containing the assigned samples and their settings.
Load K-EQ on an audio track or bus. It starts flat, with no bands and Output at 0 dB.
Click an empty area of the graph and drag slightly to add a band, or use the + button. Move a point horizontally to change frequency and vertically to change gain. Hold Shift for fine adjustment.
Select a point to edit its settings below the graph. Choose Bell, Low Shelf, High Shelf, Low Cut, High Cut, Notch, Band Pass, or Tilt Shelf, then adjust Frequency, Gain, and Q. Low Cut and High Cut offer slopes from 6 to 96 dB/oct.
Scroll over a point to change Q. Double-click a value to type a number, double-click a lower knob to restore its default, or double-click a point to reset its Gain to 0 dB. Use Enabled to disable a band temporarily or Delete to remove it.
Choose Stereo, Left, Right, Mid, or Side routing. Mid is the common component of the left and right channels; Side is their difference. Press and hold Hold solo to audition the input around the selected frequency, then release it to resume normal processing.
Choose OFF, PRE, POST, or Pre / Post in Analyzer to view spectra before and after processing. Freeze stops only the analyzer display. SCALE (0–200%) changes the gains of Bell, Shelf, and Tilt bands together, while OUTPUT (−30 to +30 dB) adjusts the output level. Watch the output meter when making large boosts.
Compare two settings with the A/B button and copy the current settings to the other slot with Copy. Use the arrows for Undo/Redo, Bypass to compare with the dry signal, and Reset to return to a flat setting. Click the preset name to choose a factory preset.
Cut, Notch, and Band Pass have no Gain control, and 6 dB/oct cuts do not use Q. The ±3/6/12/24 dB display range changes only the graph's scale.
プリセットメニューの「Save preset as…」で自分の設定を保存し、「User presets」から読み込めます。「Overwrite current user preset…」で上書きし、「Delete user preset」から保存済みプリセットを削除できます。現在のEQ設定はDAWのプロジェクトに保存されますが、A/Bの比較用バックアップ、Undo履歴、ソロ試聴、Freezeは保存対象外です。残したい比較設定は、それぞれプリセットへ保存してください。
Save your settings with Save preset as… in the preset menu and recall them from User presets. Use Overwrite current user preset… to update a saved preset, or Delete user preset to remove one. The current EQ settings are saved in your DAW project, but the A/B comparison backups, Undo history, solo audition, and Freeze are not. Save both comparison settings as separate presets if you want to keep them.
A stereo instrument player for SF2, SF3, and SFZ files, played through MIDI. Sound banks are not included. Load a bank you obtain separately, such as GeneralUser GS or a FreePats piano.
Load the plug-in on an instrument track and open an .sf2, .sf3, or .sfz with Open.... Extract ZIP or 7z archives first. Keep SFZ samples and folder structure together, and check the provider's terms of use.
On 1 Browser, choose a folder with Browse..., open a bank from the left list, and select a preset from the right list or with ‹ / ›. Search to narrow the lists. Hold a row's ▶ to audition without changing the selection.
Play with a MIDI keyboard, DAW MIDI notes, or the on-screen keys. Choose the displayed range with Keyboard, then click or drag to audition. Clicking lower on a key plays louder; toggle this with Velocity from key position in Menu. Sustain pedal (CC64) is supported.
Adjust volume with Output beside the top meters. Below, Pan sets balance, Transpose / Fine tune set pitch, Velocity adjusts playing strength, Mod wheel sets modulation, and Pitch bend sets the bend range.
Choose Poly in Mode for chords or Mono for single-note parts such as bass. Mono prioritizes the last note pressed; releasing it returns to an earlier held note. The envelope restarts when the note changes. Changing Mode stops the sounding notes.
Voices limits sample voices to 16, 32, 64, 128, or 256. Stereo and layered presets can use several voices for one note. For single-note playing, choose Mono instead of lowering Voices.
Set AMPLITUDE ENVELOPE to Manual, then adjust Attack / Decay / Sustain / Release to shape the volume over time. Choose Preset to restore the bank's original envelope.
For SF2/SF3, Delay / Hold set the initial delay and hold time; Key hold / Key decay vary those times with pitch. Env pitch / Env filter in MODULATION ENVELOPE set how much pitch or filter cutoff changes over time.
SFZ supports the basic amplitude ADSR. Other SF2/SF3-only controls are disabled.
Save banks or presets with ☆ and recall them from Favorites. Recent lists recently opened banks.
Use the arrow buttons at the top to undo or redo, Reload to reload the bank, and Panic to stop the sound.
Double-click a value to type a number or a knob to restore its default. Drag to adjust, hold Shift for fine control, or use Reset controls in Menu to reset the controls.
Moving projects: The DAW saves the bank path, preset, and settings, without embedding bank or sample data. Copy those files when moving to another computer and locate the bank again with Open... if needed.
SFZ with multiple channels: CC120 (All Sound Off) stops every channel in the same instance. Use separate instances for parts that need independent stopping. Single-channel use is unaffected; SF2/SF3 stop per channel.
Load K-Utility on an audio track or bus. It starts in Stereo mode with Width at 100%, Pan at Center, and Volume at 0 dB.
Choose INPUT MODE. Stereo keeps the left and right channels separate. Left or Right sends the selected channel to both outputs. Mono averages the two channels and sends the result to both outputs.
In Stereo mode, set WIDTH from 0 to 200%. At 0% the signal is mono, 100% preserves its original width, and 200% emphasizes the difference between the channels. WIDTH has no effect in Left, Right, or Mono mode.
Set the left/right balance with PAN and the output level with VOLUME (−48 to +48 dB). Moving Pan to one side reduces the level of the opposite channel. Check the L/R meters and avoid excessive output levels.
Use L / R SWAP to swap channels and PHASE INVERT to invert the polarity of both channels. MUTE silences the output, while Bypass passes the dry signal unchanged. Bypass takes priority over all processing, including MUTE.
SMOOTH (0–100 ms, default 10 ms) sets the transition time for changes to Width, Pan, Volume, and Phase Invert. Drag a knob or slider and hold Shift for fine adjustment. Double-click a value to type a number, double-click a knob or slider to restore its default, or choose Reset to restore all defaults.